We built the Class Price Calculator because we were tired of guessing what to charge at Lander Art Center. If you've ever stared at a blank registration page wondering whether $120 is too much or too little for a six-week class, this tool is for you. Here's how to price a real class from start to finish.
We'll price a 6-session watercolor class, 2 hours per session, with an expected enrollment of 8 students. By the end of this page, you'll have a recommended per-student price and a table showing what happens to your margins at different enrollment levels. The whole thing takes about five minutes.
One honest note before we start: when we first built this tool, our buffer defaults were too low. Our first season using it, three classes came in under-margin because we hadn't accounted for material price creep and the occasional last-minute refund. The "Moderate" preset described below reflects what we actually needed, not what we initially assumed.
If you're on a phone, the layout stacks vertically (inputs on top, results below). Everything works the same.
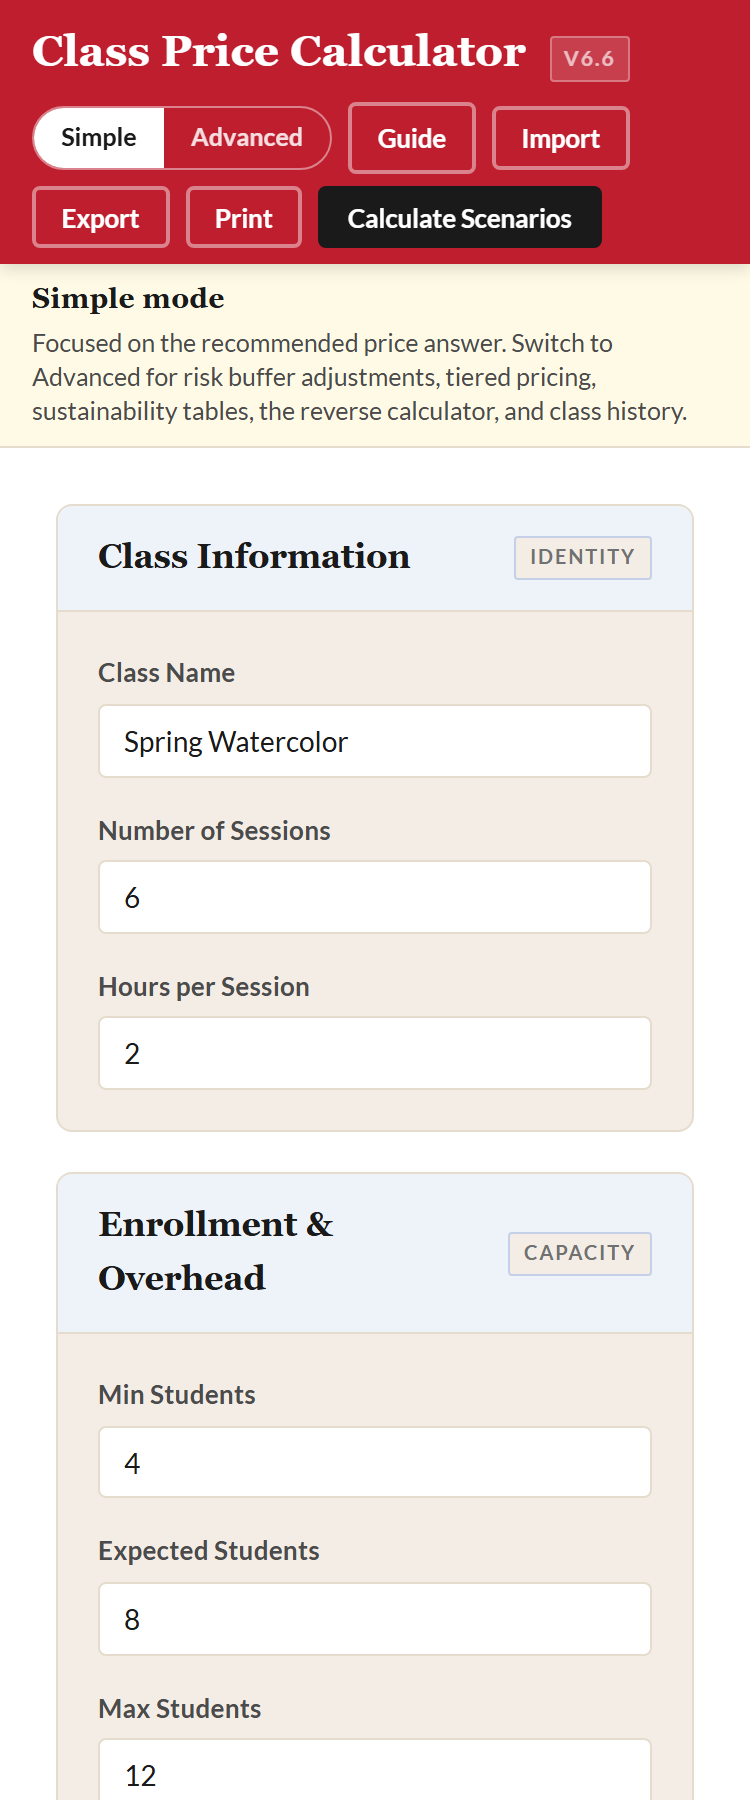
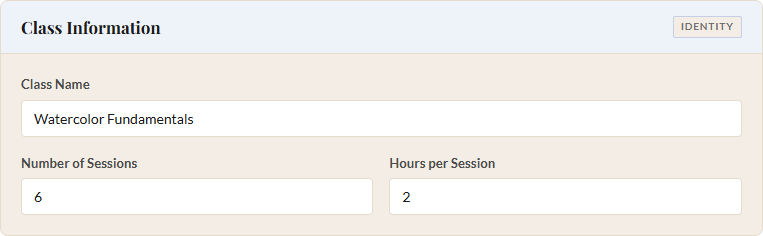
1 Class Information
Start at the top of the calculator. Type a name for your class in the Class Name field. This is the one field the tool absolutely requires. If you leave it blank, nothing will calculate. It doesn't need to be the final name you'll use in your catalog; "Spring Watercolor" works fine for now.
Next, enter the number of sessions and the hours per session. For our watercolor example:
- Class Name: Spring Watercolor
- Sessions: 6
- Hours per Session: 2
Three fields done. The rest of the calculator builds on these.
2 Enrollment and Overhead
The calculator asks for three enrollment numbers: minimum, expected, and maximum. These aren't just labels. The tool uses them to generate a range of pricing scenarios so you can see what happens if fewer students sign up than you hoped, or more students sign up than you planned for.
- Minimum Enrollment: 4
- Expected Enrollment: 8
- Maximum Enrollment: 12
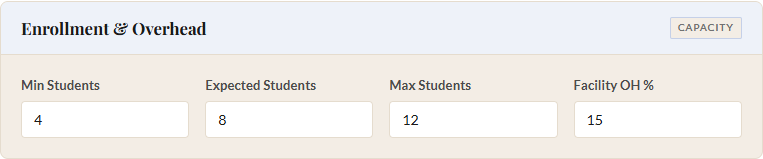
Below that, you'll see Facility Overhead. This is the percentage of your venue costs (rent, utilities, insurance, cleaning) that you want to allocate to this class. If your organization runs ten programs a month and this class is one of them, in our experience something in the 10-15% range works. We'll use 15% for our example.
3 Direct Costs
This is where you tell the calculator what the class actually costs to deliver. There are four parts, and each one has a toggle or two to fit the way you work.
Instructor Rate
You'll see a toggle for Hourly vs. Flat. Most of us pay instructors by the hour, so we'll stick with Hourly. Enter the rate and the calculator does the rest (it already knows the sessions and hours from Step 1). For our watercolor class:
- Instructor Rate: $50/hour
If you pay a flat fee per session or for the entire series, flip the toggle and enter that amount instead.
Materials
Another toggle here: Total vs. Per-Student. If you buy supplies in bulk for the whole class (say, a set of shared brushes), use Total. If each student gets their own kit of paints and paper, use Per-Student. For watercolor, materials tend to be individual:
- Materials: $15 per student
The calculator will multiply this by your expected enrollment automatically.
Coordinator Time
Somebody handles registration emails, sends reminders, orders supplies, and fields the inevitable "can I switch to the Tuesday section?" questions. That time has a cost. Enter the estimated hours and the hourly rate:
- Coordinator Hours: 2
- Coordinator Rate: $25/hour

Other Direct Costs
If there are any other expenses specific to this class (model fees, kiln firing charges, a guest speaker), add them here. For our watercolor example, we'll leave this at $0.
4 Risk Buffers
Things go sideways. A student drops and you issue a partial refund. The instructor needs a substitute for one session. Supplies cost more than the quote you got last month. Buffers are a small contingency you build into the price so these surprises don't eat your margin.
Simple mode note: If you're in Simple mode (the default for new users), the Risk Buffers section is hidden and the Moderate preset is already applied. Your Cost Breakdown will show the buffer percentages on each line. Skip to Step 5. If you want to adjust buffers directly, flip the header toggle to Advanced.
The calculator offers three preset buttons: Lean, Moderate, and Robust. Each one fills in a set of sensible defaults. If you're not sure which to pick, Moderate is a good starting point. You can explore the individual buffer settings (cancellation risk, material waste, administrative contingency) in the Complete Walkthrough when you're ready.
5 Target Gross Margin
Gross margin is the percentage of revenue you keep after covering all the costs you just entered. If you set it to 15% and charge $100, then $85 covers costs and $15 stays with your organization for future programming, reserves, or scholarships.
In our experience, 10-20% is a healthy range. Set it too low and one bad surprise wipes out your surplus. Set it too high and your prices may push away the community you're trying to serve.
- Target Gross Margin: 15%
You'll notice a hint box in the tool that explains the margin formula. It's there if you want it, but you don't need it to keep going.
6 Calculate
Click the "Calculate Scenarios" button in the top-right of the header.
The results panel on the right side of the screen fills in with the answer. At the top, the Recommended Price per Student is the price that covers all your costs and buffers and hits your 15% margin target at your expected enrollment of 8. For the watercolor numbers above, that comes out to around $160.
Directly below the price are three stat pills, all centered on your expected enrollment so the whole panel tells one coherent story: Margin at expected (the margin the recommended price hits at 8 students, should match your 15% target), Break-even (the number of students you need just to cover costs), and Revenue at expected (what the class brings in at 8 students). The outlying cases, what happens at minimum, maximum, or every enrollment in between, live in the Enrollment Scenarios table further down the page.
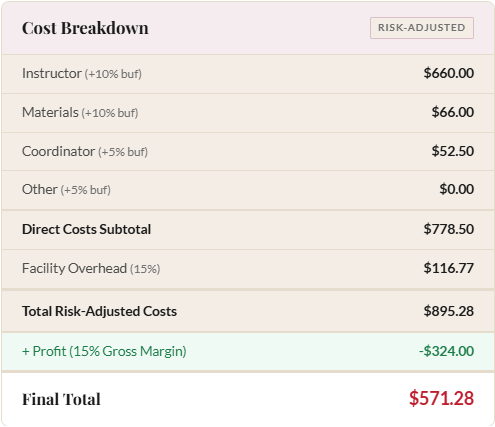
Under the stat pills is the Cost Breakdown, computed at your expected enrollment (8). Each row is a cost you entered, with its buffer applied, so you can see where the money actually goes. The Direct Costs Subtotal adds up instructor, materials, coordinator, and other; Facility Overhead is layered on top; and the Total Risk-Adjusted Costs row is what the class needs to cover at 8 students.
The last row is the one we built the tool to answer: Profit at expected enrollment. It shows the dollar amount you keep if enrollment lands where you expect. Green means you're in the black at that enrollment. Red means the recommended price doesn't actually clear costs at 8 students. Usually a signal that the minimum is too low or a buffer is too high.
Further down the page, the enrollment scenarios table shows what happens at every enrollment level from your minimum (4) to your maximum (12). You'll see the per-student price, total revenue, total costs, and margin for each row. This is where the tool really earns its keep: instead of a single number, you get a complete picture of your financial range.
If the price looks too high, go back and experiment. Try lowering the margin to 10%, or see what happens if you bump the maximum enrollment to 14. The scenarios update instantly, so you can explore different configurations until you find a price that works for your community and your budget.
What's Next?
You've got your first price. For many classes that's all you need. The calculator can do more when you're ready for it:
- Complete Walkthrough covers every feature in detail, including tiered pricing and all the advanced settings we skipped today.
- How to Set Up Sliding-Scale Tiers walks through tiered pricing (3 or 4 tiers) so you can keep classes accessible without running at a loss. Available in Advanced mode.
- How to Track Actuals shows you how to use the post-class review loop to compare your predictions with what actually happened, so your next estimate is better than this one. Available in Advanced mode.
Ready to price your next class?
Open the Class Price Calculator and put this guide into practice.
Open the Calculator